Getting Started with VueScan
VueScan is a scanning program that helps you get the most out of your scanner, whether you’re scanning photos, slides, negatives or documents.
It supports more than 8000 scanners from 42 scanner manufacturers on Windows, macOS and Linux.
This page introduces the VueScan window and walks you through your first scan.
Getting to know VueScan
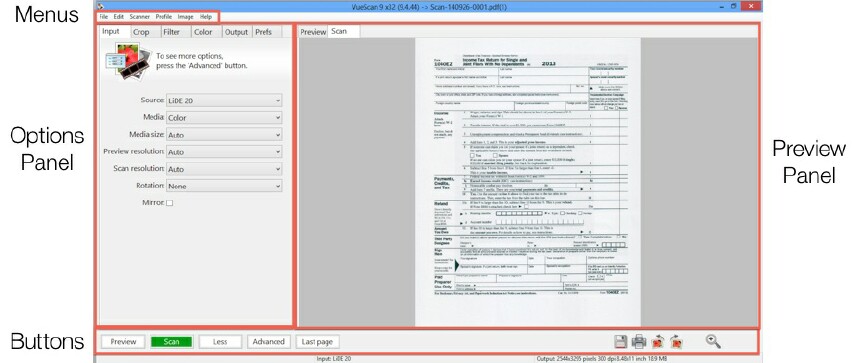
- The Preview panel in the middle of the window shows your preview and scan. Use it to check and adjust the crop box before you scan at full resolution.
- The Options panel on the left has the settings, grouped into tabs (Input, Crop, Filter, Color, Output and Prefs). On each tab the options are grouped under headings that you can click to fold away. Each tab also has a Reset button that puts that tab’s options back to their default values.
- The buttons at the bottom of the window are used to preview, scan and save. See Buttons for details.
- The Menus at the top of the window have more commands, including the File menu tools for stitching, super-resolution, touch up and colorizing.
Guide Me
If you’re new to VueScan, click the Guide Me tab at the top of the options panel. Pick what you want to scan (slides, negatives, documents or photos) and Guide Me sets up VueScan for you, shows you the settings it will use, and walks you through Preview, Scan and Save. Click Manual mode to go back to the full set of options. You can switch between the two at any time.
Options levels
Input | Options controls how many options you see:
- Basic shows only the Input and Prefs tabs, with the most common options.
- Standard adds the Crop, Filter, Color and Output tabs.
- Professional shows every option.
Each option in this manual says which level it appears at.
Your first scan
You can do most things in VueScan by pressing the Scan button. For more control, preview first, then scan.
Load your image
- Place your photo face down on the scanner glass, or load your slide or negative into your film scanner.
-
VueScan sets Input | Media for you in most cases. On flatbed scanners the default is “Color”, which is right for photos. On film scanners the default is “Auto”, which detects whether you’re scanning slides or negatives.
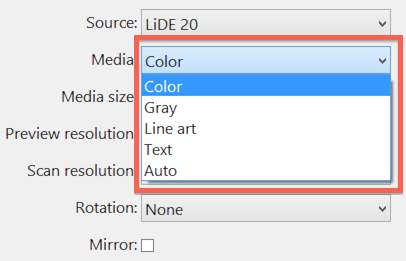
- If Auto picks the wrong type of film, set Input | Media to “Slide film”, “Color negative” or “B/W negative”.
Preview and crop
-
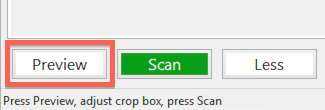
Click the Preview button. This makes a quick, low resolution scan so you can check the image before scanning at full resolution.
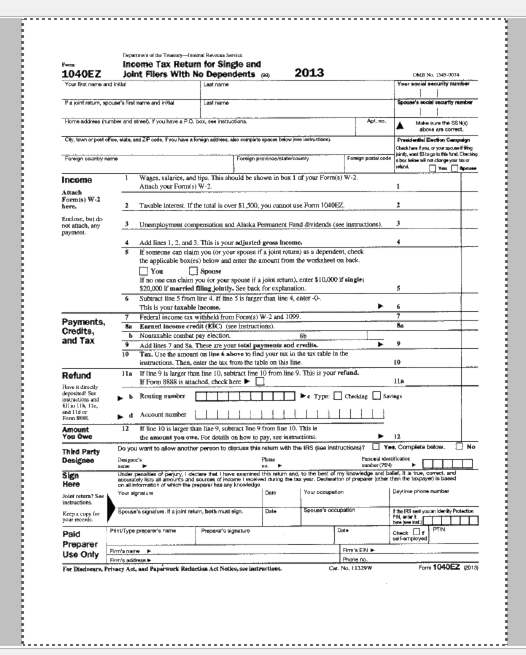
- When the preview is done, the image is shown in the Preview panel.
- VueScan places the crop box automatically (Crop | Crop size is set to “Auto” by default). On flatbed scanners, Crop | Multi crop is on by default, so if you place several photos on the glass VueScan finds each one and puts a crop box around it.
- To adjust a crop box, drag its edges or corners with the mouse.
Scan and save
-
Click the Scan button.
- Wait for the scan to finish. This depends on your scanner, your computer and the resolution you are scanning at.
- When the scan is done, VueScan names the file and saves it in the folder set by Default folder. In Basic options, Default folder and File type are on the Input tab (Input | Default folder, Input | File type). In Standard and Professional options they are also on the Output tab (Output | Default folder, Output | File type). See Saving Files for more.
- After the file is saved, the Recent scans tray opens in the lower right corner of the window. Click a file to open it, or click the folder button to show it in Finder or File Explorer.
Reorder pages in multi page files
When you scan to a multi page file, a thumbnail of each page is displayed on the right side of the window. You can reorder pages in multi page files with the mouse.
Reading text from a document
After you preview or scan a document, click the OCR button next to the Recent scans button, or choose Edit | View OCR text. The OCR button appears when VueScan detects that the image is a document, and needs VueScan Standard Edition or higher. VueScan shows the text it recognizes inside the crop box. You can edit the text and copy it into another program. To save the text in a searchable PDF, see Output | PDF OCR text.